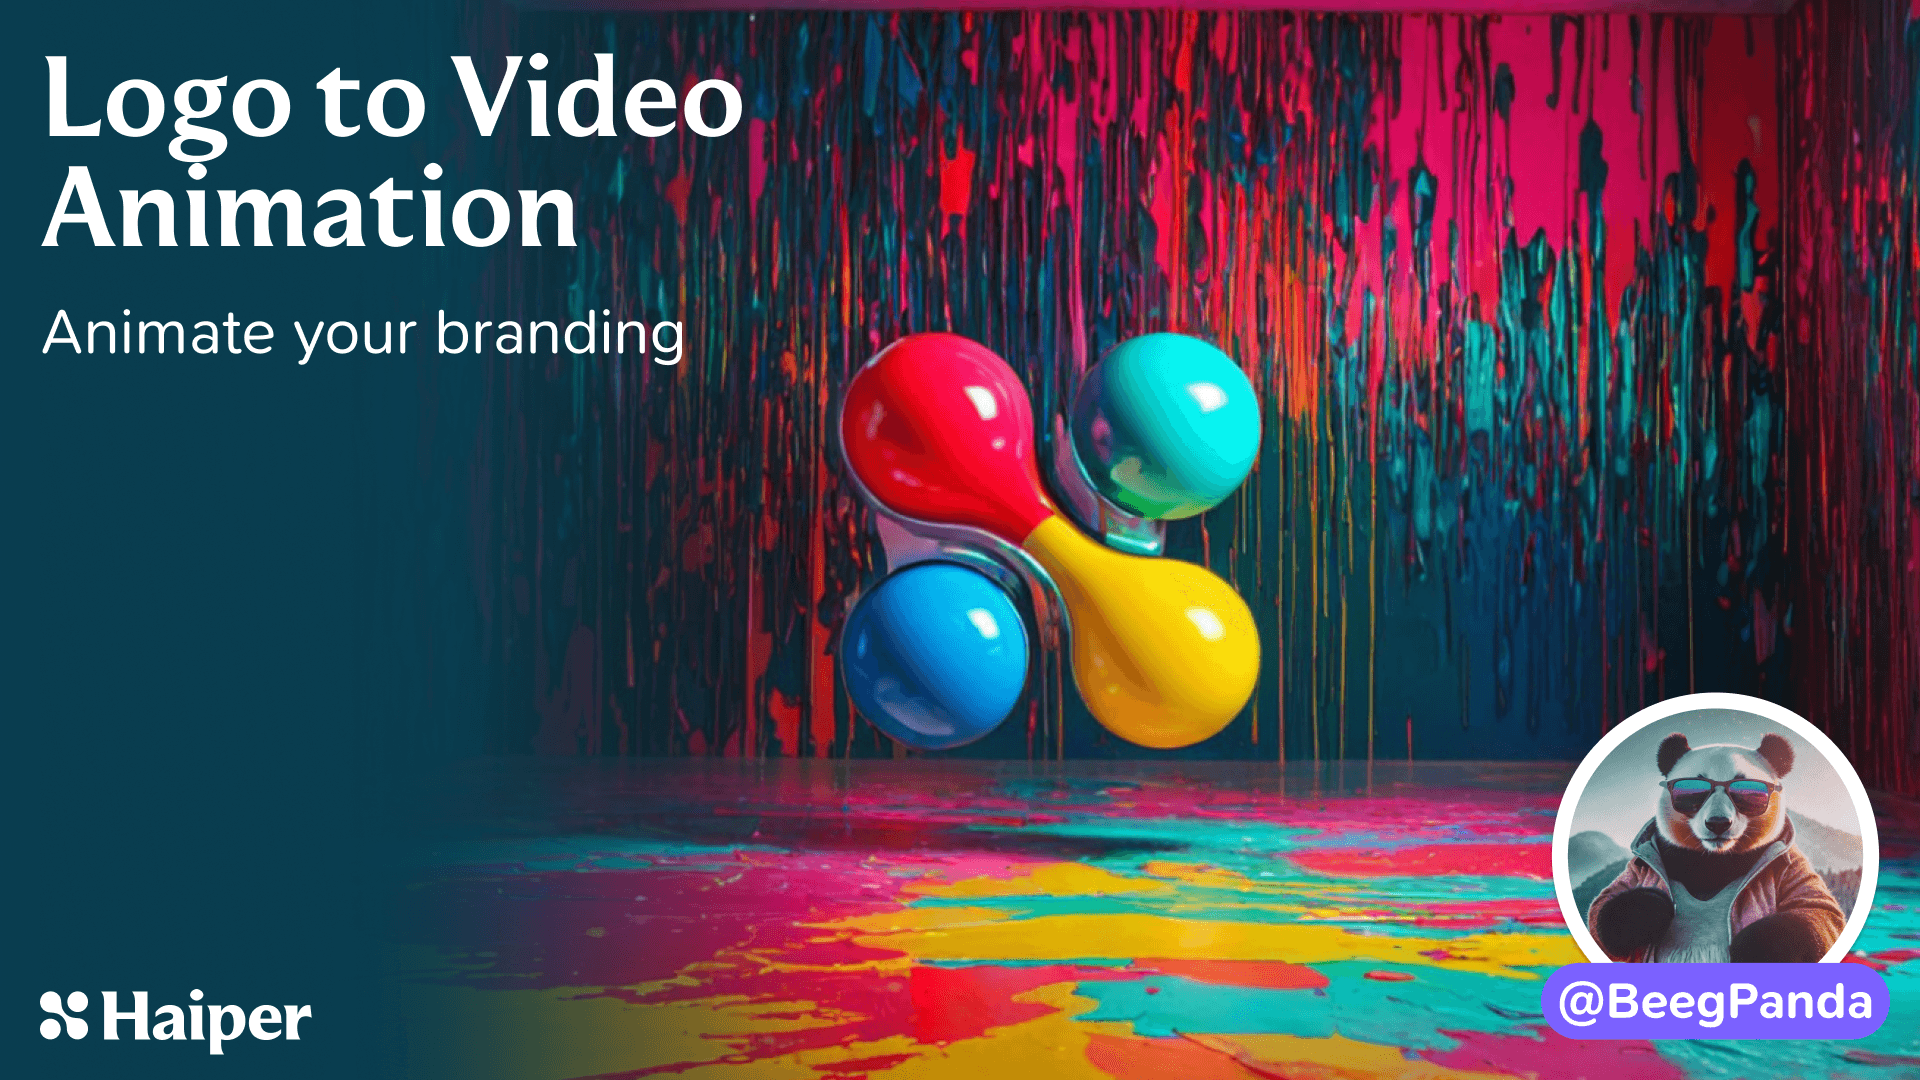
In this tutorial we will be creating animated logos with Haiper!
Tools: Haiper Video Gen, ComfyUI, Photoshop.
Intro
Haiper's generative AI is a flexible tool for creating animated content, but what if the subject needs to be a distinct form and shape that cannot be easily described via prompting, like a logo? Logos tend to have a specific, distinct design that needs to be adhered to, so how do we navigate around this problem? How do we control our image?
In this tutorial, we will turn a simple logo image into fully realised image-to-video animated shots. This could be used to inject your branding into all sorts of imagery for marketing.
STEP 1: Input your logo
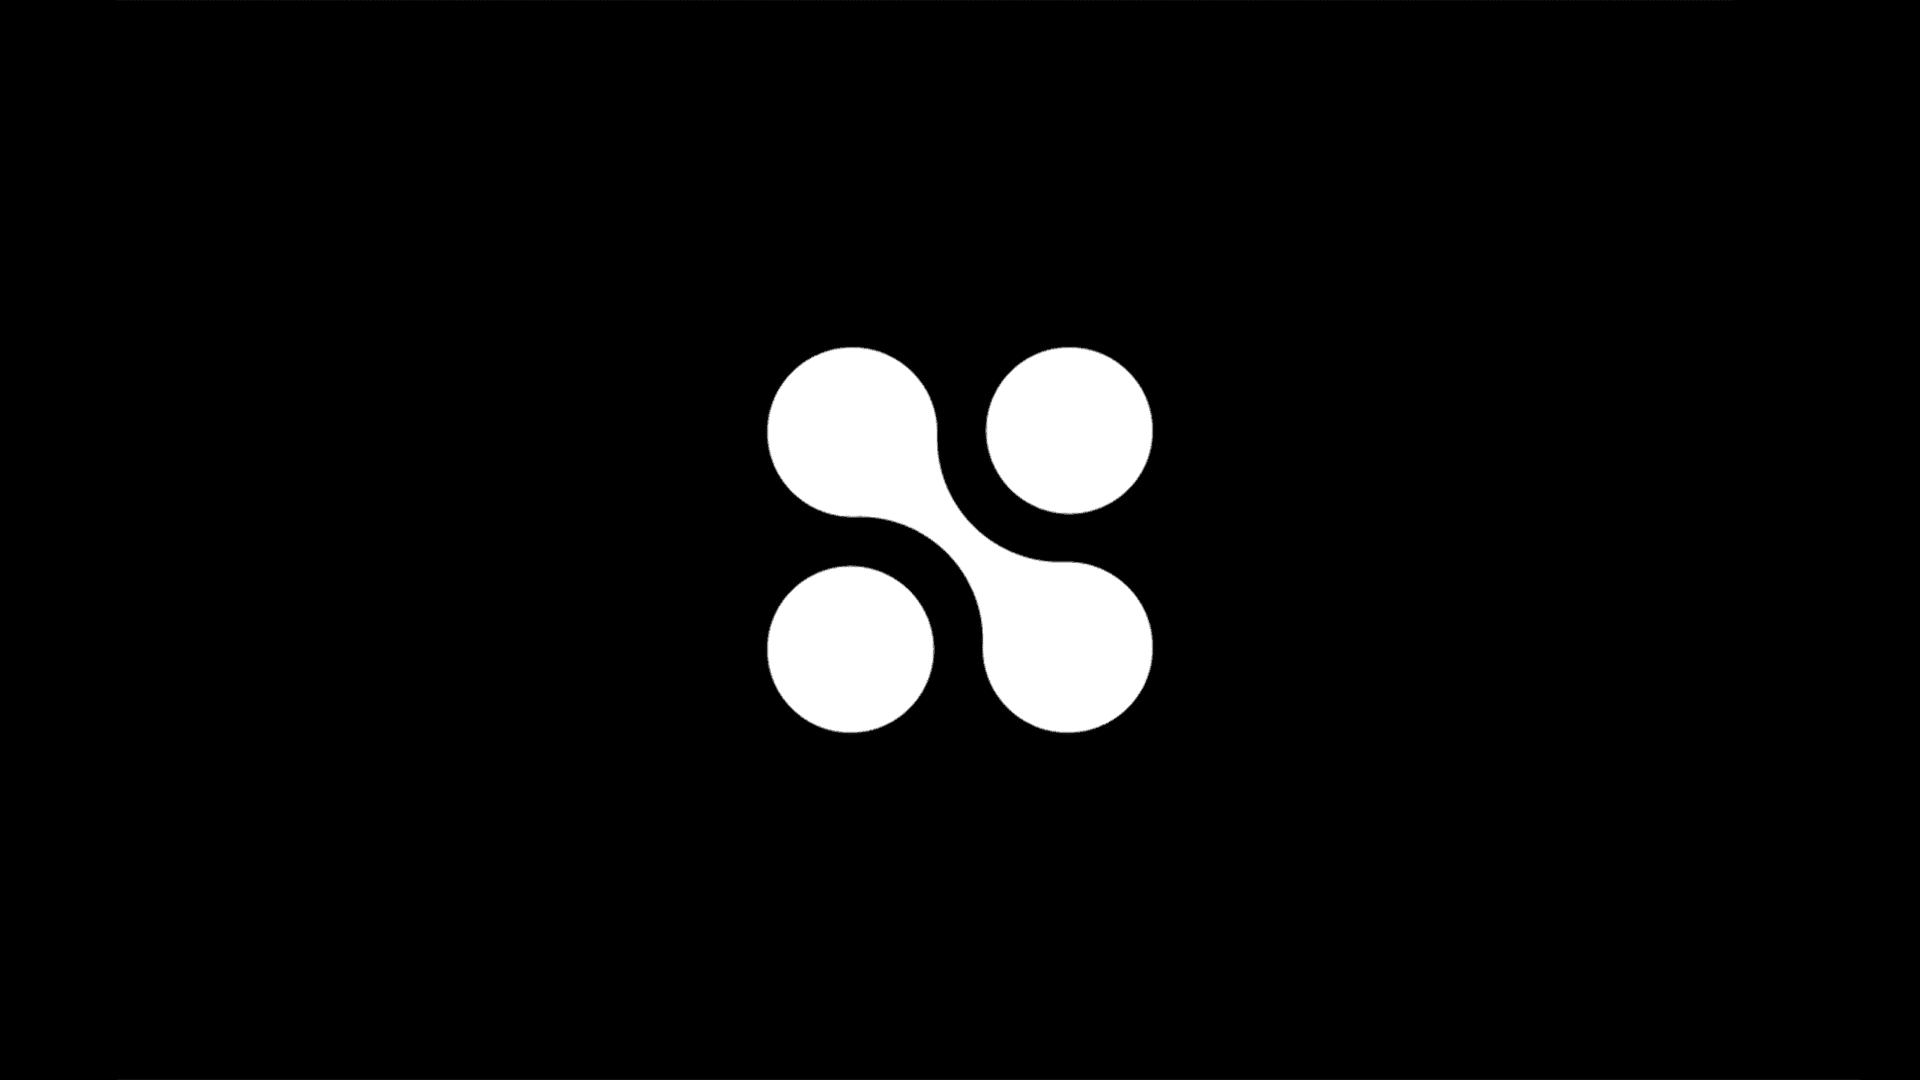
To start, we create a simple black and white image of a logo that has a 16:9 aspect ratio (1280x720 resolution). This tends to work better for the video model but really any size image will do.
A colour logo works too, but the key importance is a high contrast between the logo and the background. This will serve as our control image or underlying guidelines for our final image.
STEP 2: Generate your Image
Here we will use a workflow in ComfyUI supplied below. Just download .json file which will be provided here. This just needs to be dragged and dropped into your ComfyUI browser.
This workflow will turn our logo image in the rendered version with the same composition.
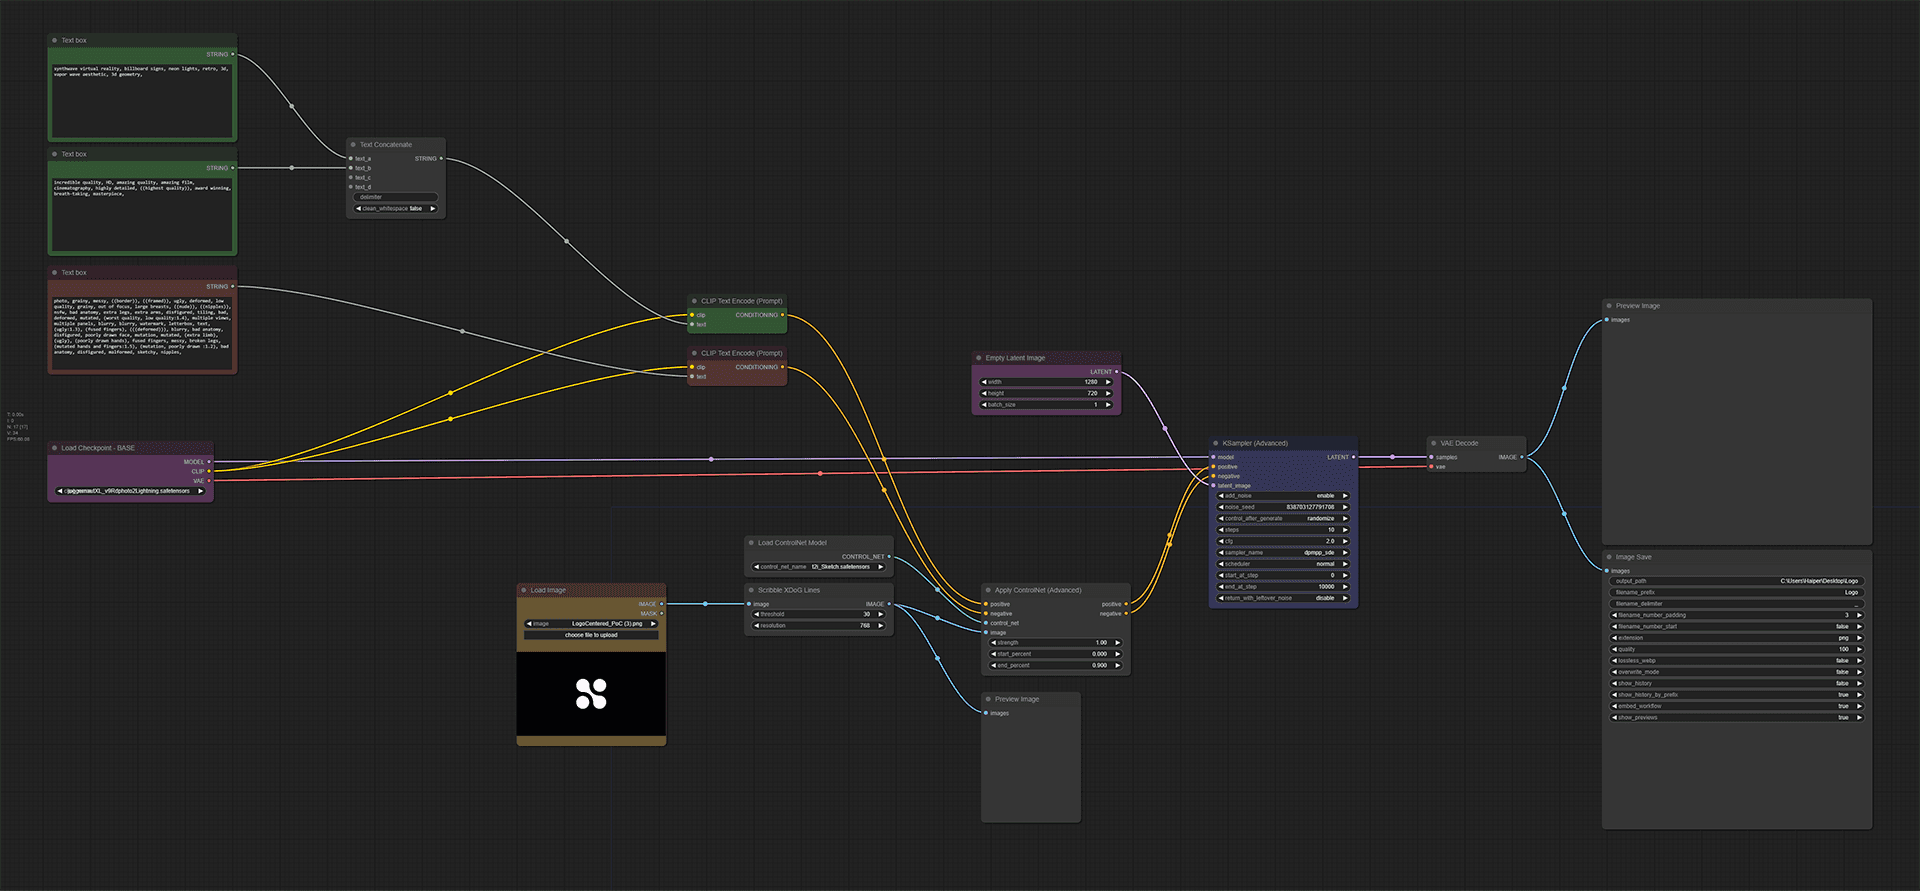
The yellow box is where we upload our base logo image. This will put it through a t2i-Sketch Controlnet which keeps the original form of the logo in the final image.
The positive prompts on the top left are split into 2 parts: the main prompt, what is wanted in the main image, and the grading prompt, which is used to get better looking images using specific image prompts. These can be altered to fit the image you wish to generate.
Once the inputs are set, we can then queue and render our images. This is an iterative process where you will need to reprompt and experiment, but you can get a variety of different styles for your logo animation. You can really go wild here and try all sorts of prompts to see what you can get.
STEP 3: Animate your Image
Once you get the images you want, simply go into the Haiper Creations page and use the Animate Your Image feature and put a base description for your logo animation as the prompt.
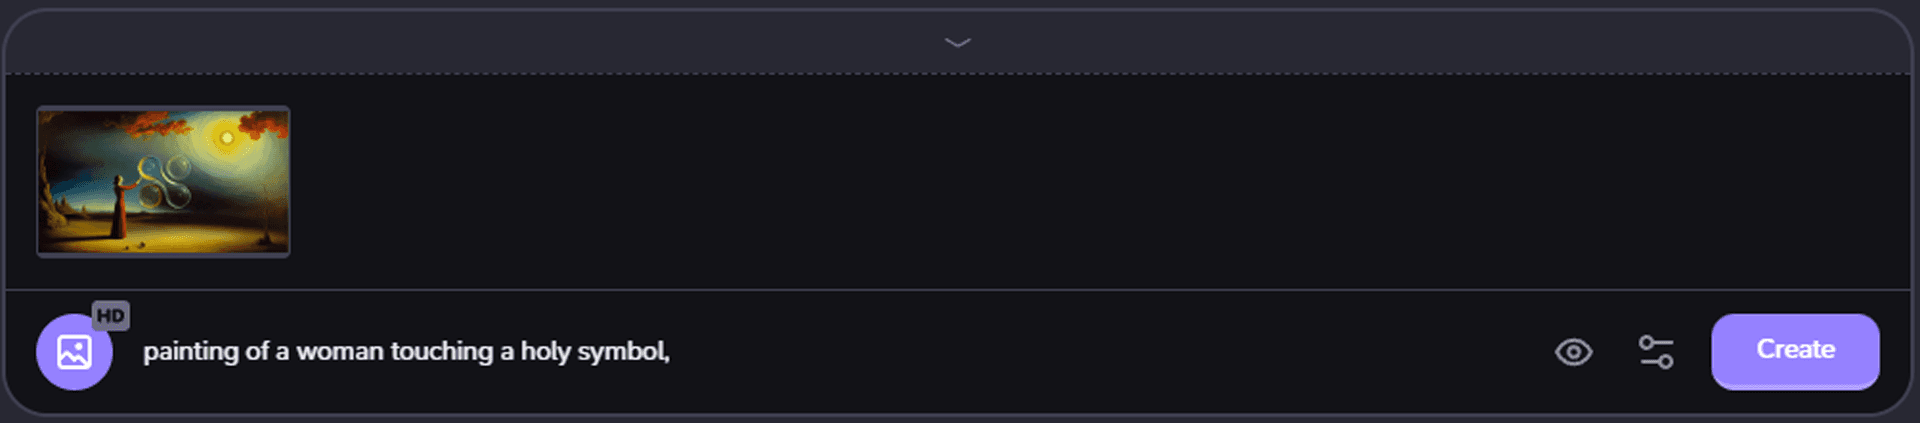
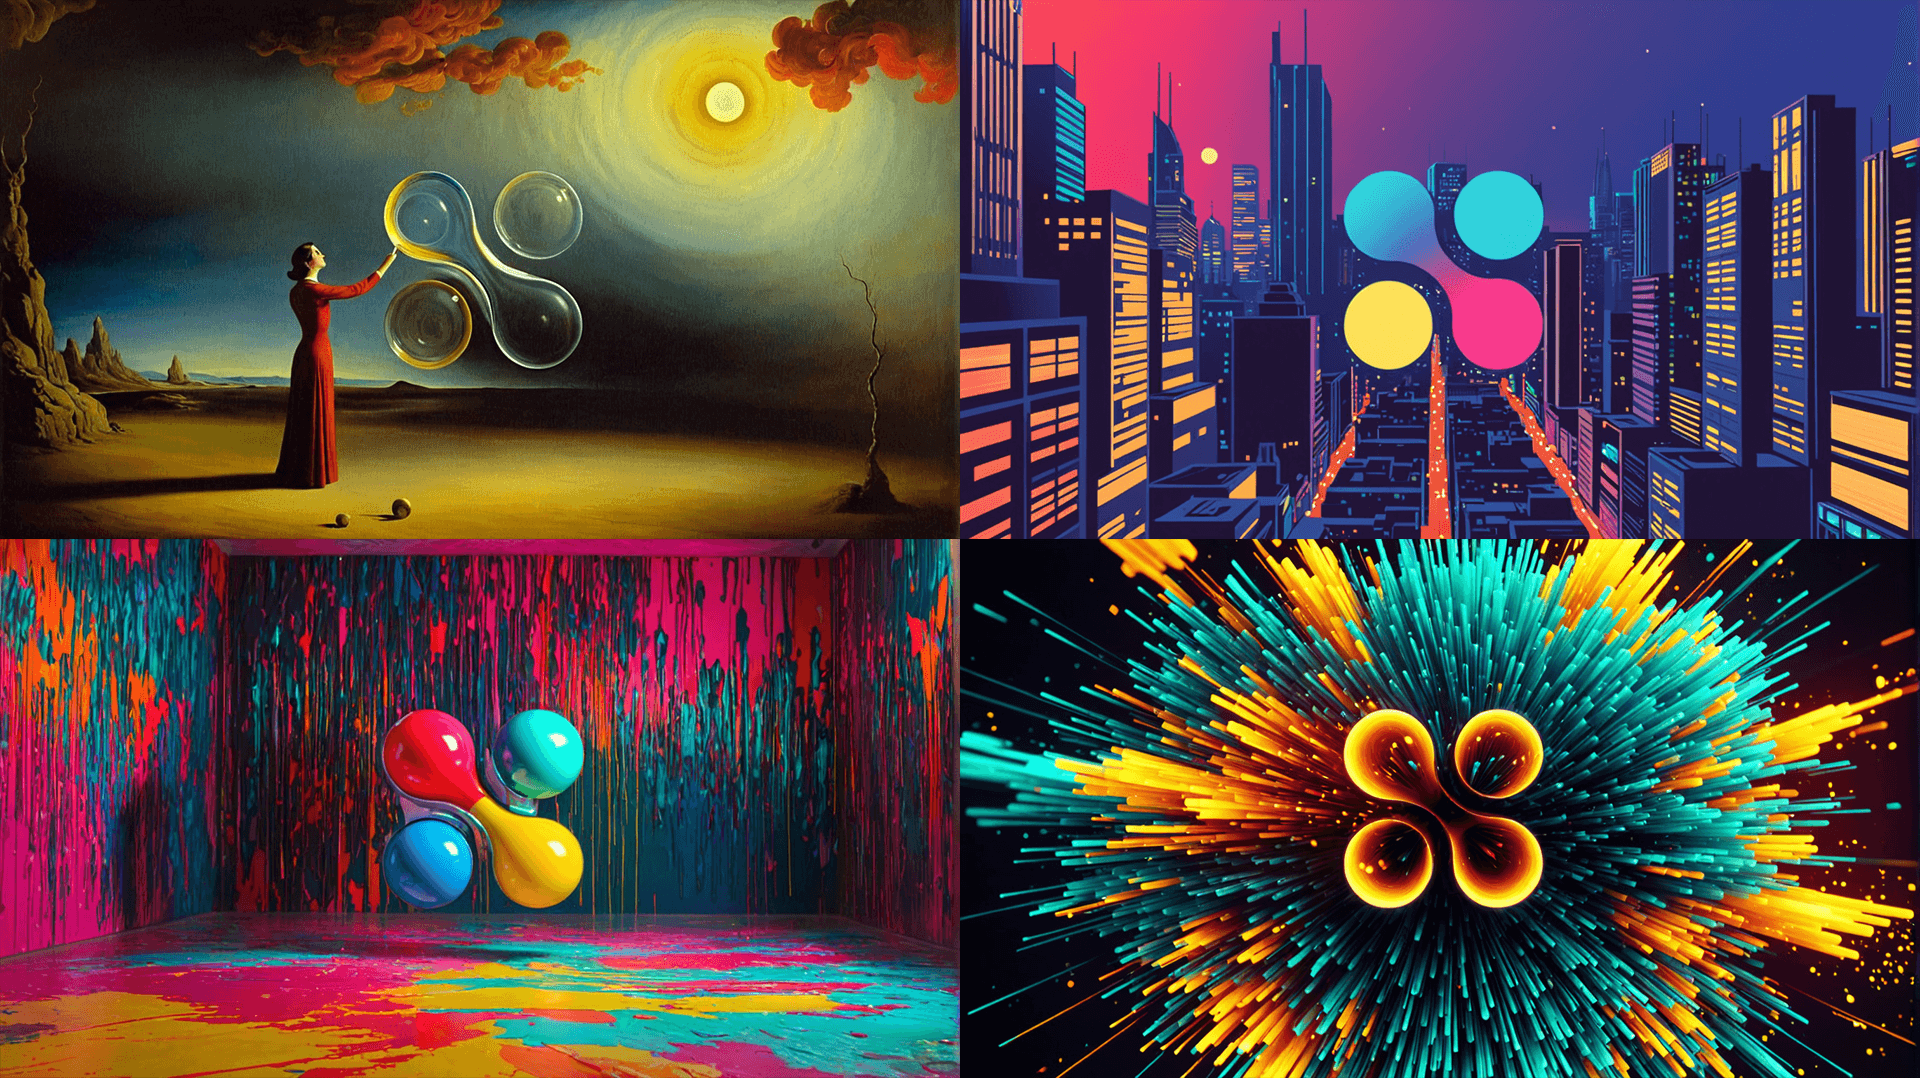
The prompts used for these images were as follows:
"painting of a woman touching a holy symbol,"
"animated vector art city,"
"paint motion graphics, falling paint, artsy,"
"beautiful exploding particles,"
Once queued, simply wait for your animation to render. It is usually more successful to queue for more than one attempt for each image so that you can get a variety of different motions to choose from as they can be a bit unpredictable, then simply download your favourites from the Creations page.