In this tutorial, we will turn a character sketch into an animated video.
STEP 1: Sketch Your Idea
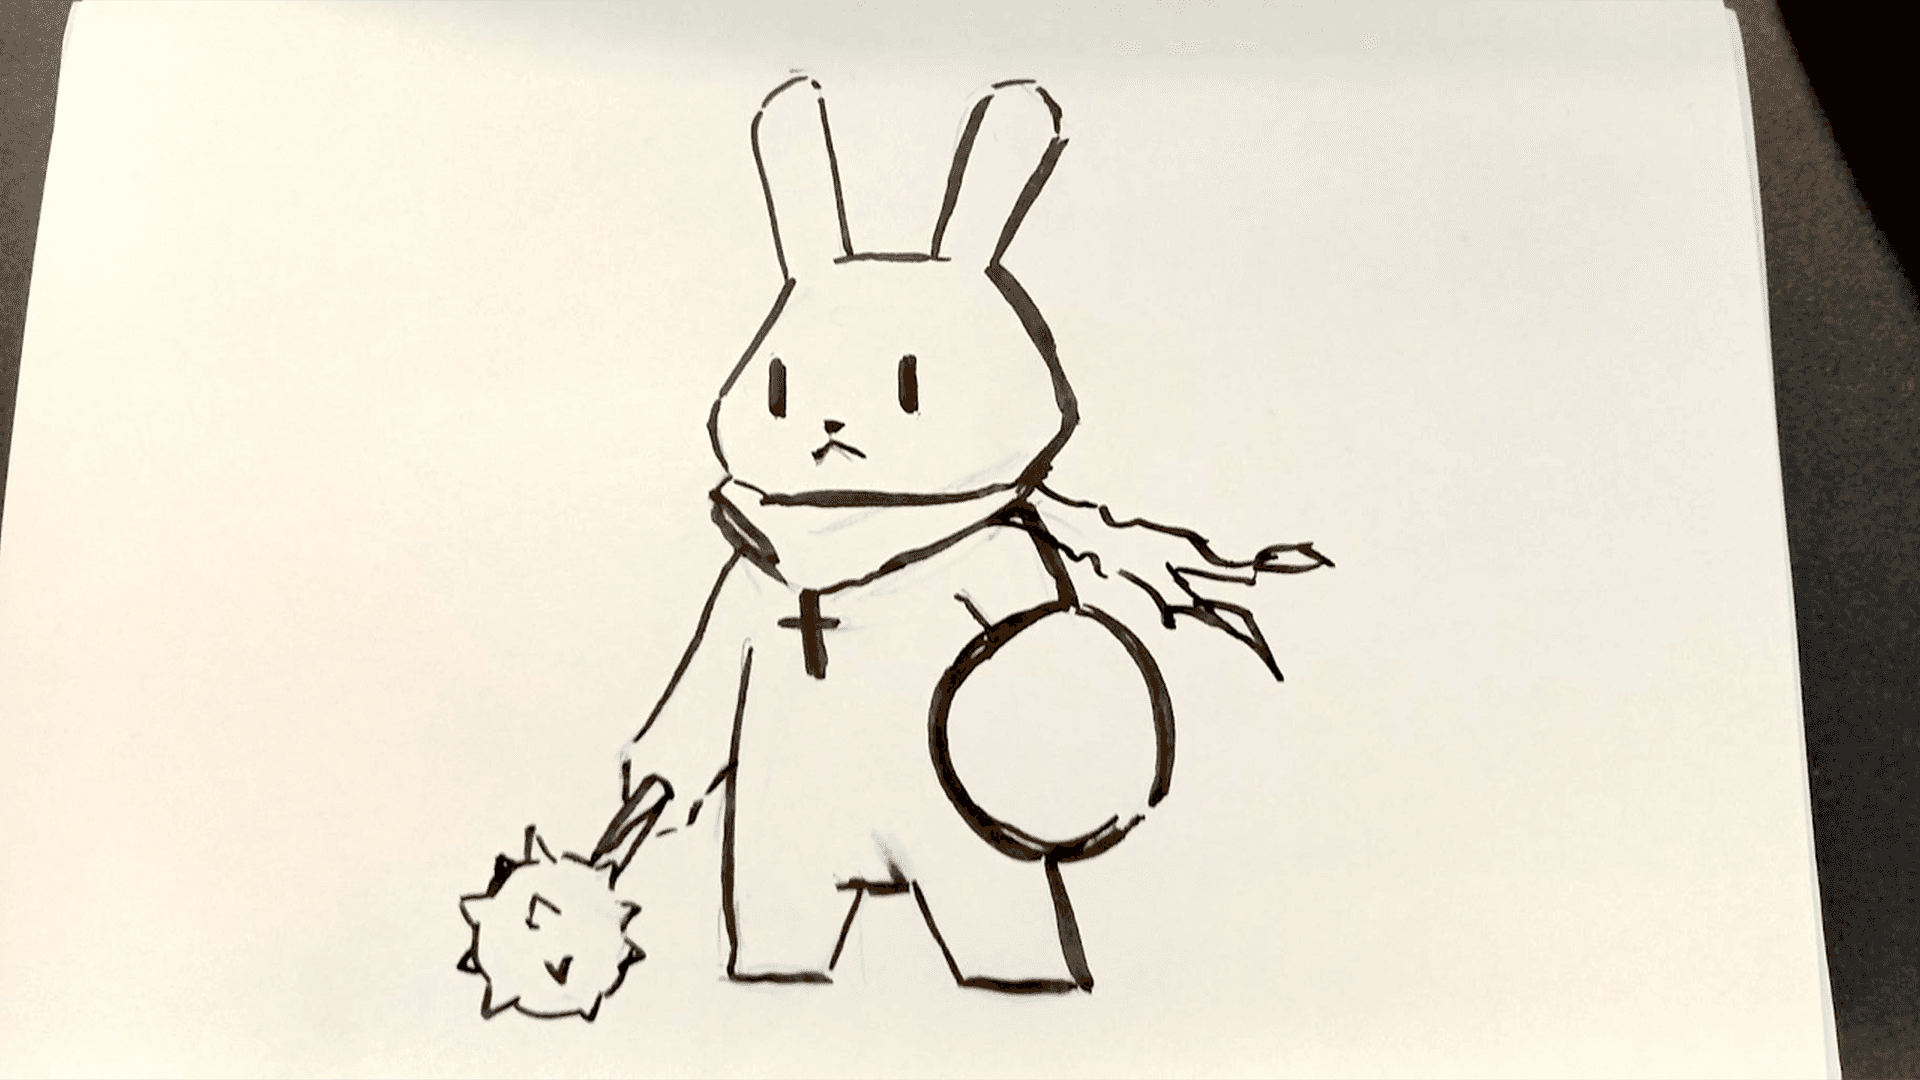
To begin with, we'll start with just a rough pen sketch. This can be anything that you want it to be but in this case we want to create a heroic bunny cleric. The sketch drawing does not need to be incredibly refined and the clearer and cleaner the drawing the better. Once done we take a picture of the drawing on paper so we can upload the image into the next step.
STEP 2: Clean up image
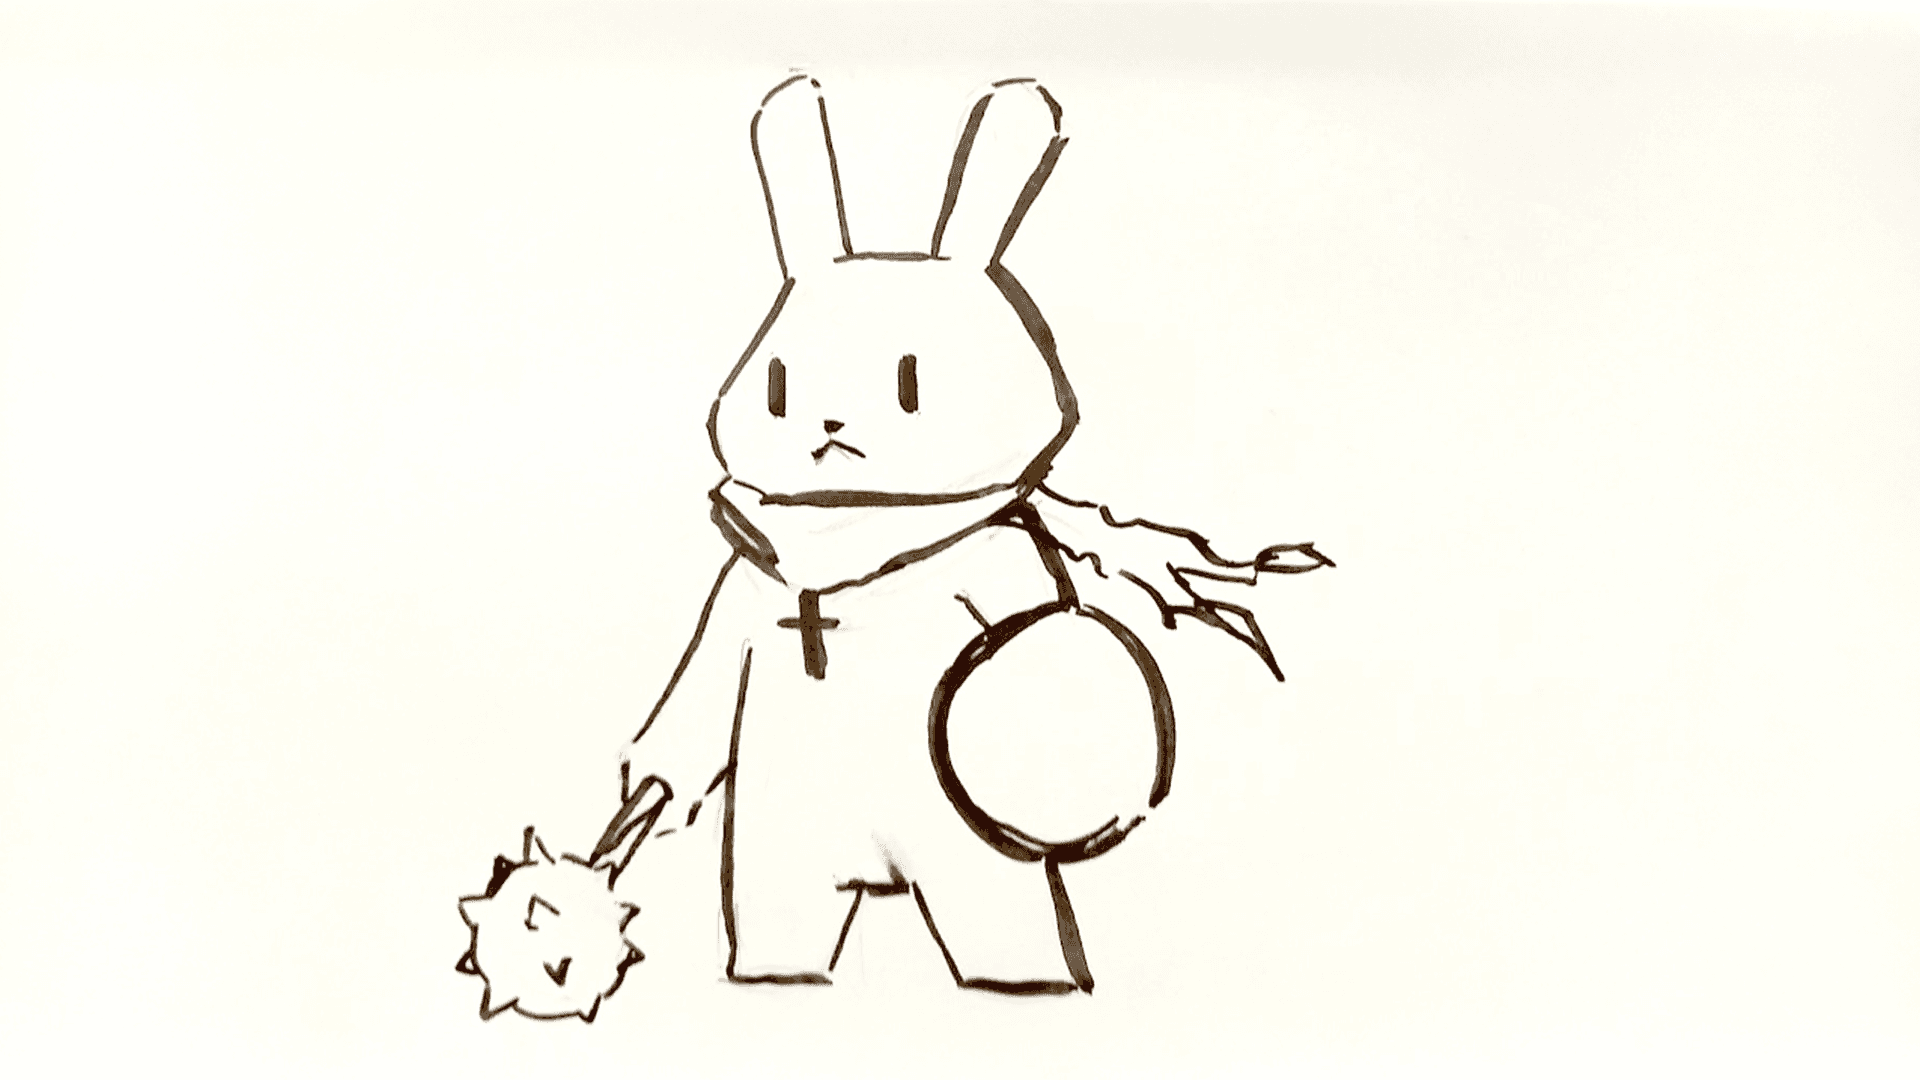
Here we can use an image editing app like Photoshop, or Gimp to remove the edges of the paper and get a nice clean image. Once uploaded we use Photoshop's Generative fill function to remove and clean the edges. To finish the clean up phase we also use levelling features to create more contrast in the image.
STEP 3: Generate your Images
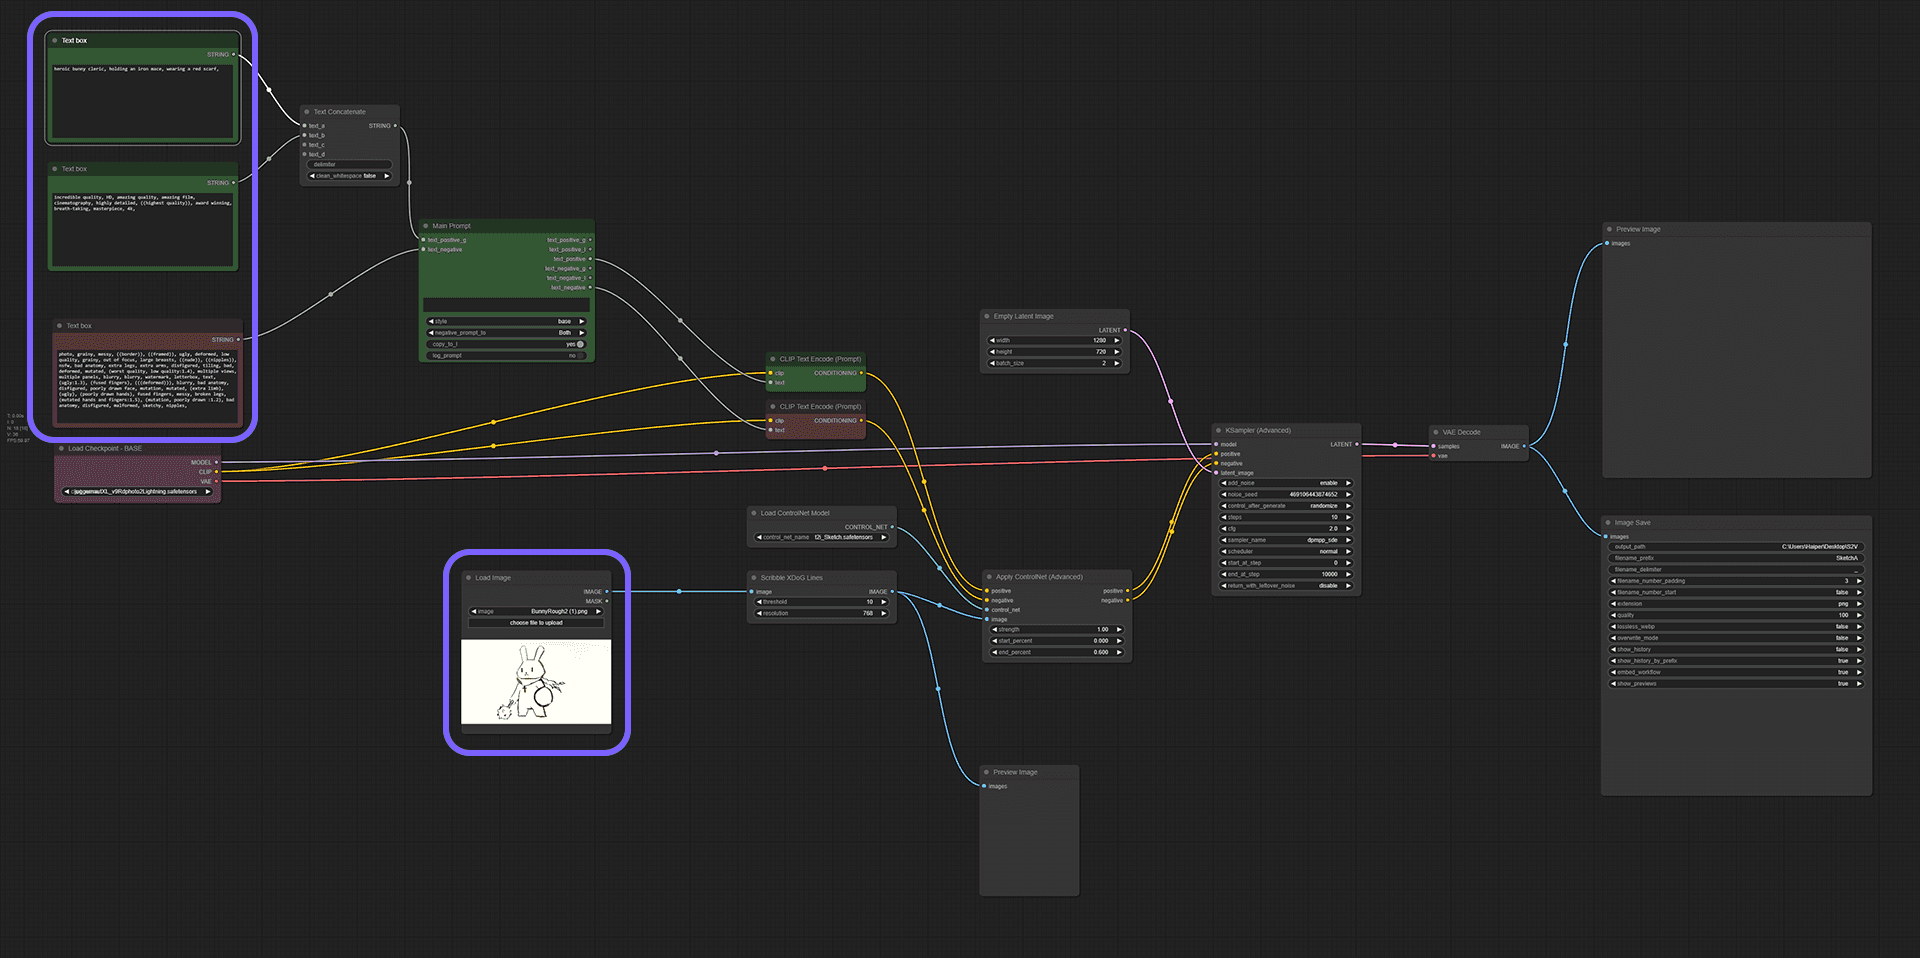
Now we use this sketch as a base to generate a detailed image of our character with a background. For this example, we want to generate a cleric rabbit character in a fantasy setting, so we'll use some prompts like "battle rabbit", "holy warrior", or "adorable barbarian", alongside a T2I Adapter in ComfyUI.
The workflow can be downloaded here.
Haiper has an internal image model on the way, but for the purpose of being able to replicate these results, we'll use ComfyUI with Dreamshaper XL Turbo as the image model as it's one of the better open source options available at the moment. Although daunting, it will only take a little effort to install and once installed you can drag and drop the workflow file into your ComfyUI window.
ComfyUI can be installed here.
Dreamshaper XL Turbo v2 can be downloaded here.
This needs to go into your ComfyUI checkpoints folder.
Filepath is usually ComfyUI>models>checkpointsT2I Adapter for Sketch can be downloaded here.
This needs to go into your Controlnet folder.
Filepath is usually ComfyUI > models > controlnet
In the workflow it might look a little complicated, but you only need to worry about these highlighted areas for your sketch input and your prompt.
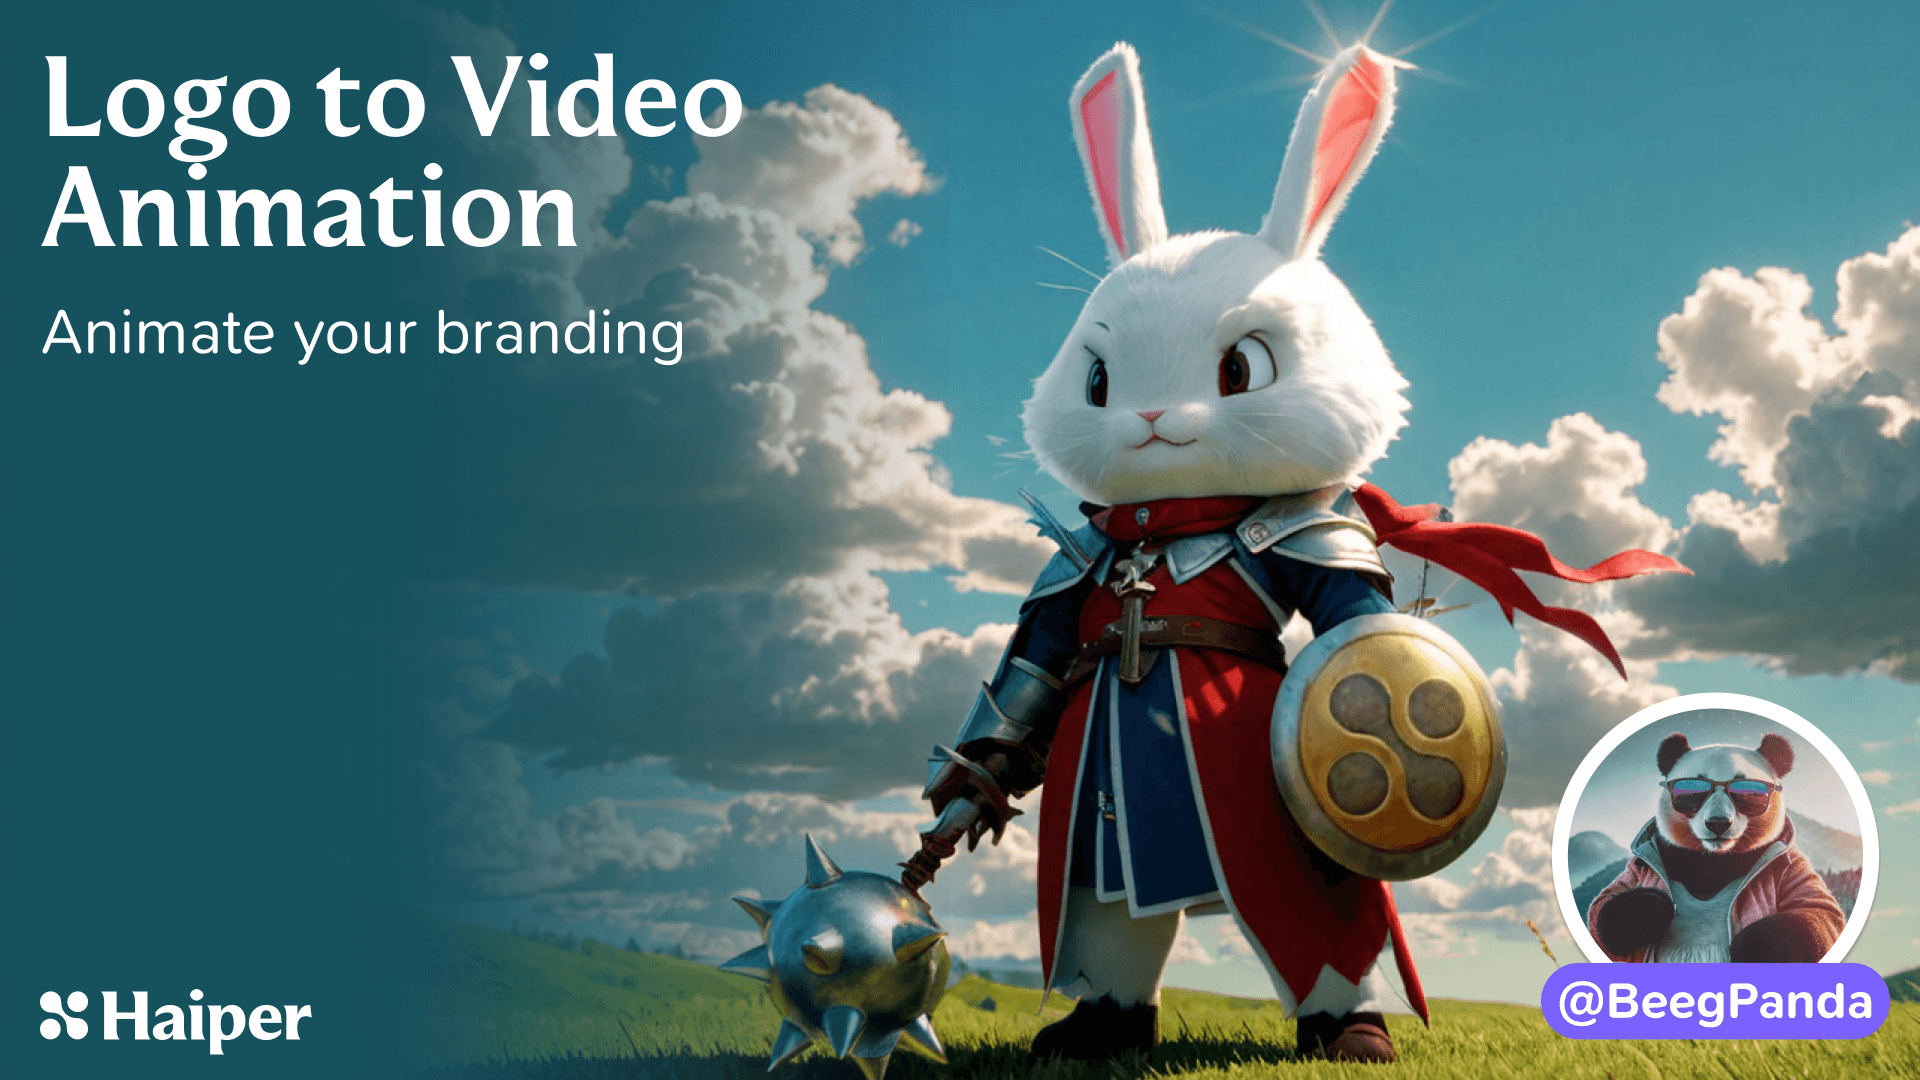
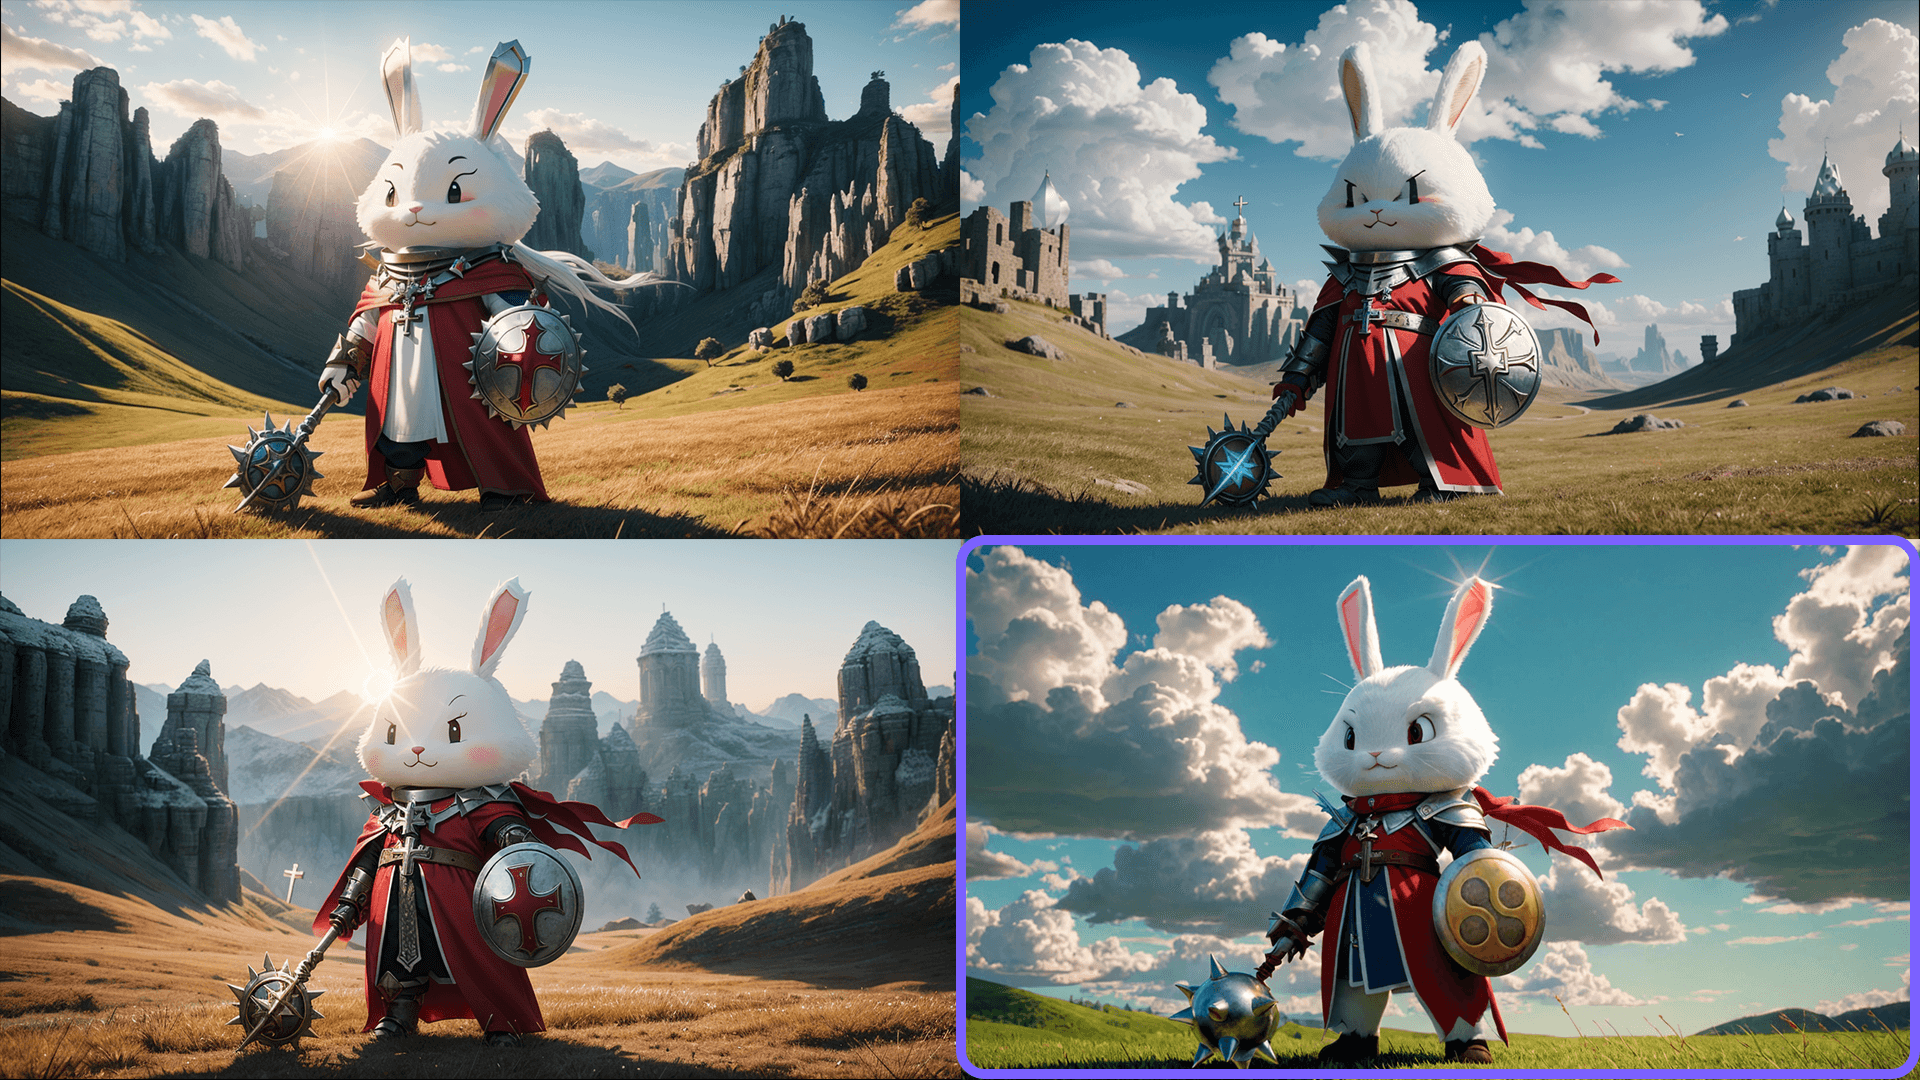
STEP 4: Pick Your Favourite Image
These are some of the results after prompting:
From these, we'll pick the final image to send to animate.
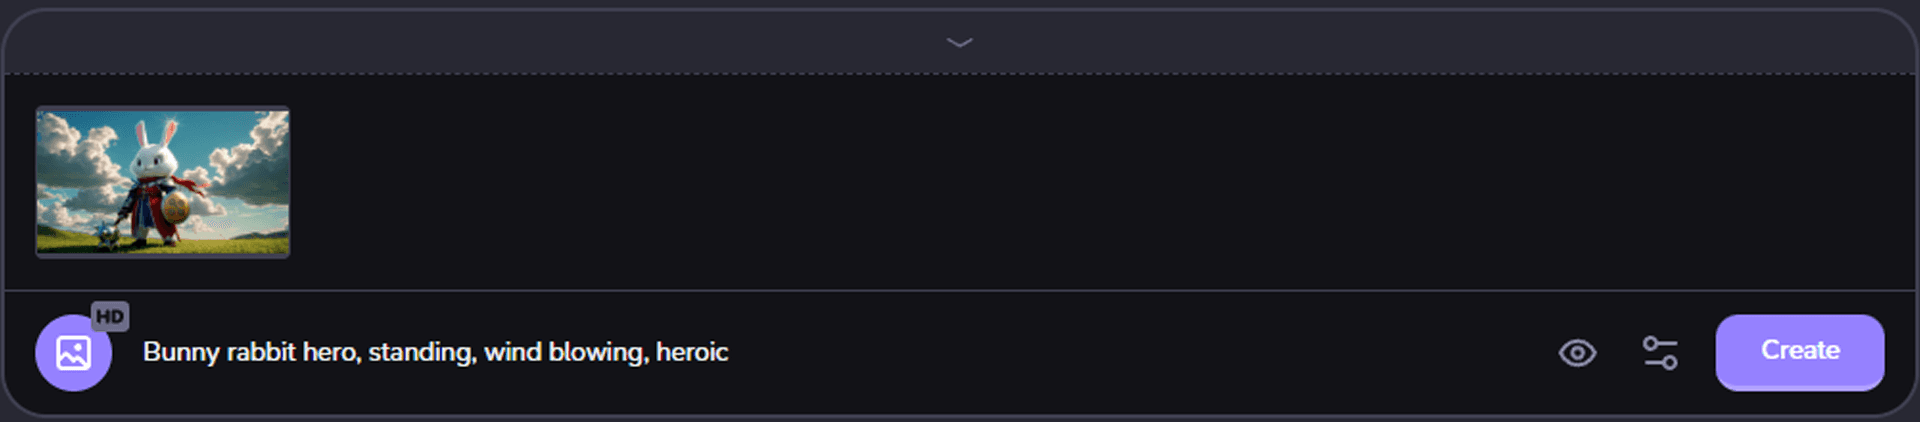
STEP 5: Animate Your Image
Once we have the final image chosen, we can go onto Haiper's Creation page and use the Animate Your Image to create a short animated version of our finalised character.
We'll use the prompt:
"Bunny rabbit hero, standing, wind blowing, heroic"